Showing posts with label MFT. Show all posts

Thursday, 17 January 2019

SCRAP N' STAMP~ A Song in my Heart

Happy Thursday crafty friends! Today, we have a fun little blog hop for

Be sure to comment on all the stops on the hop to be eligible for one of 5 VALENTINES GIFT PACKS and 1 $50  Scrap N' Stamp Gift Certificate

 PLUS there's a challenge over at the SCRAP N' STAMP FB Group- the theme is LOVE IS IN THE AIR...come join in the fun! ;o)

Here's my card for this hop:

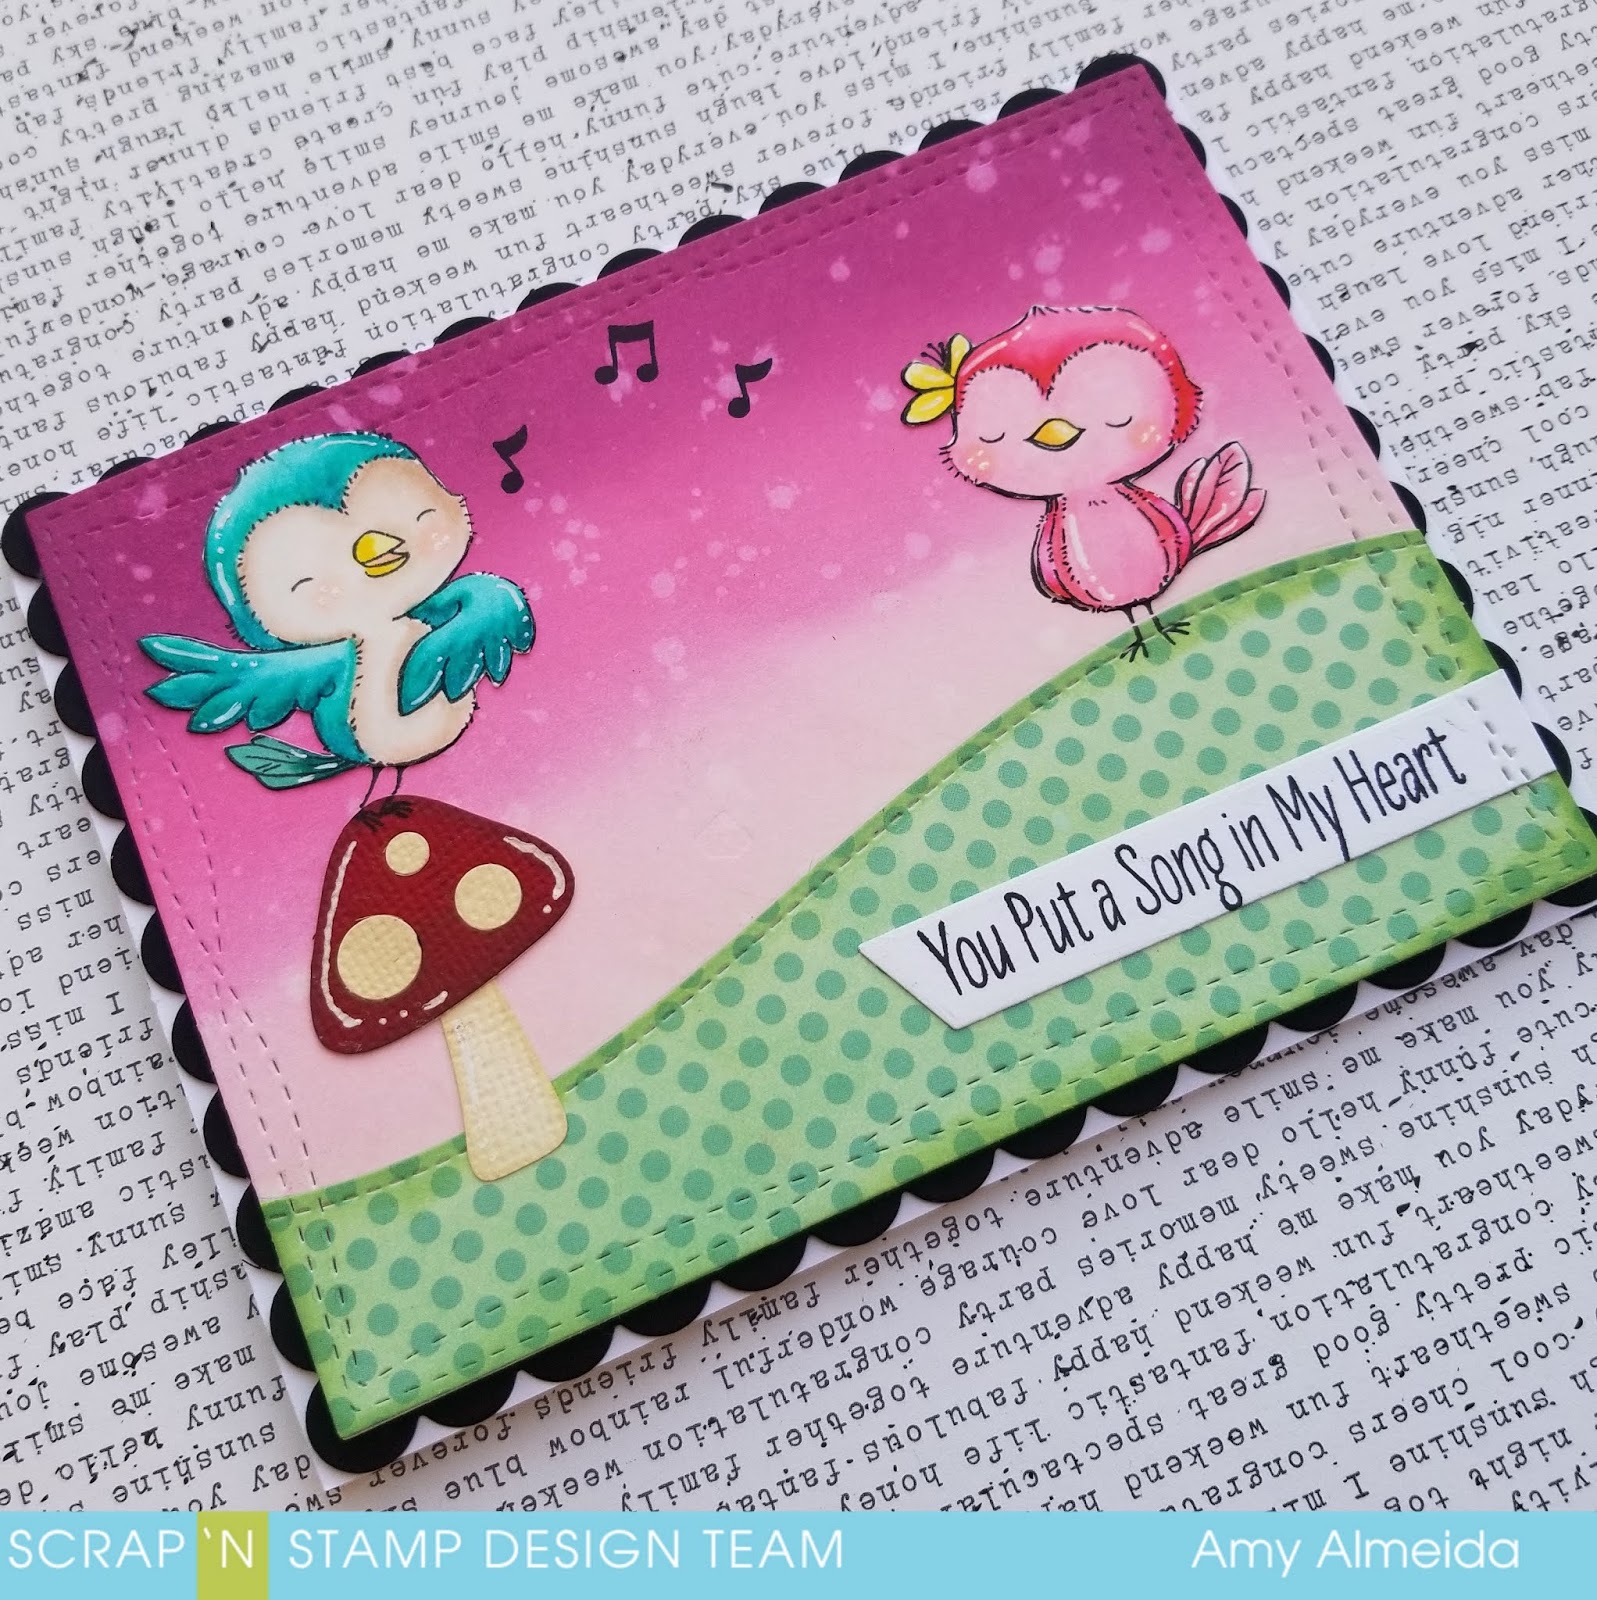
I started with a piece of Bristol Smooth paper and blended Distress Oxides in Spun Sugar, Picked Raspberry and Seedless Preserves to create my background; I added some water droplets for more texture. I then used the  MFT- Wonky Stitched Rectangle die to cut the panel. To create my hill, I used Lawn Fawn Stiched Hillside Borders cut from MME "Record It" paper pad and inked it up with Mowed Lawn Distress Ink. A Mushroom die cut from Quick Kutz blended the edges with Antique Linen and Vintage Photo Distress Oxides finished off my little scene.

 
I stamped 2 of the bird images from the MFT- Tweet Friends stamp set  in Versafine Black Onyx Ink onto Bristol Smooth paper and colored up the images with my Zig Clean Color Real Brush Markers. I added some white Gel Pen for highlights and fussy cut them out. I stamped the song notes and sentiment from the set using Black Onyx Versafine ink and die cut the sentiment using the MFT- Slanted Sentiment Strip Die. Voila! One TWEET Card..lol.

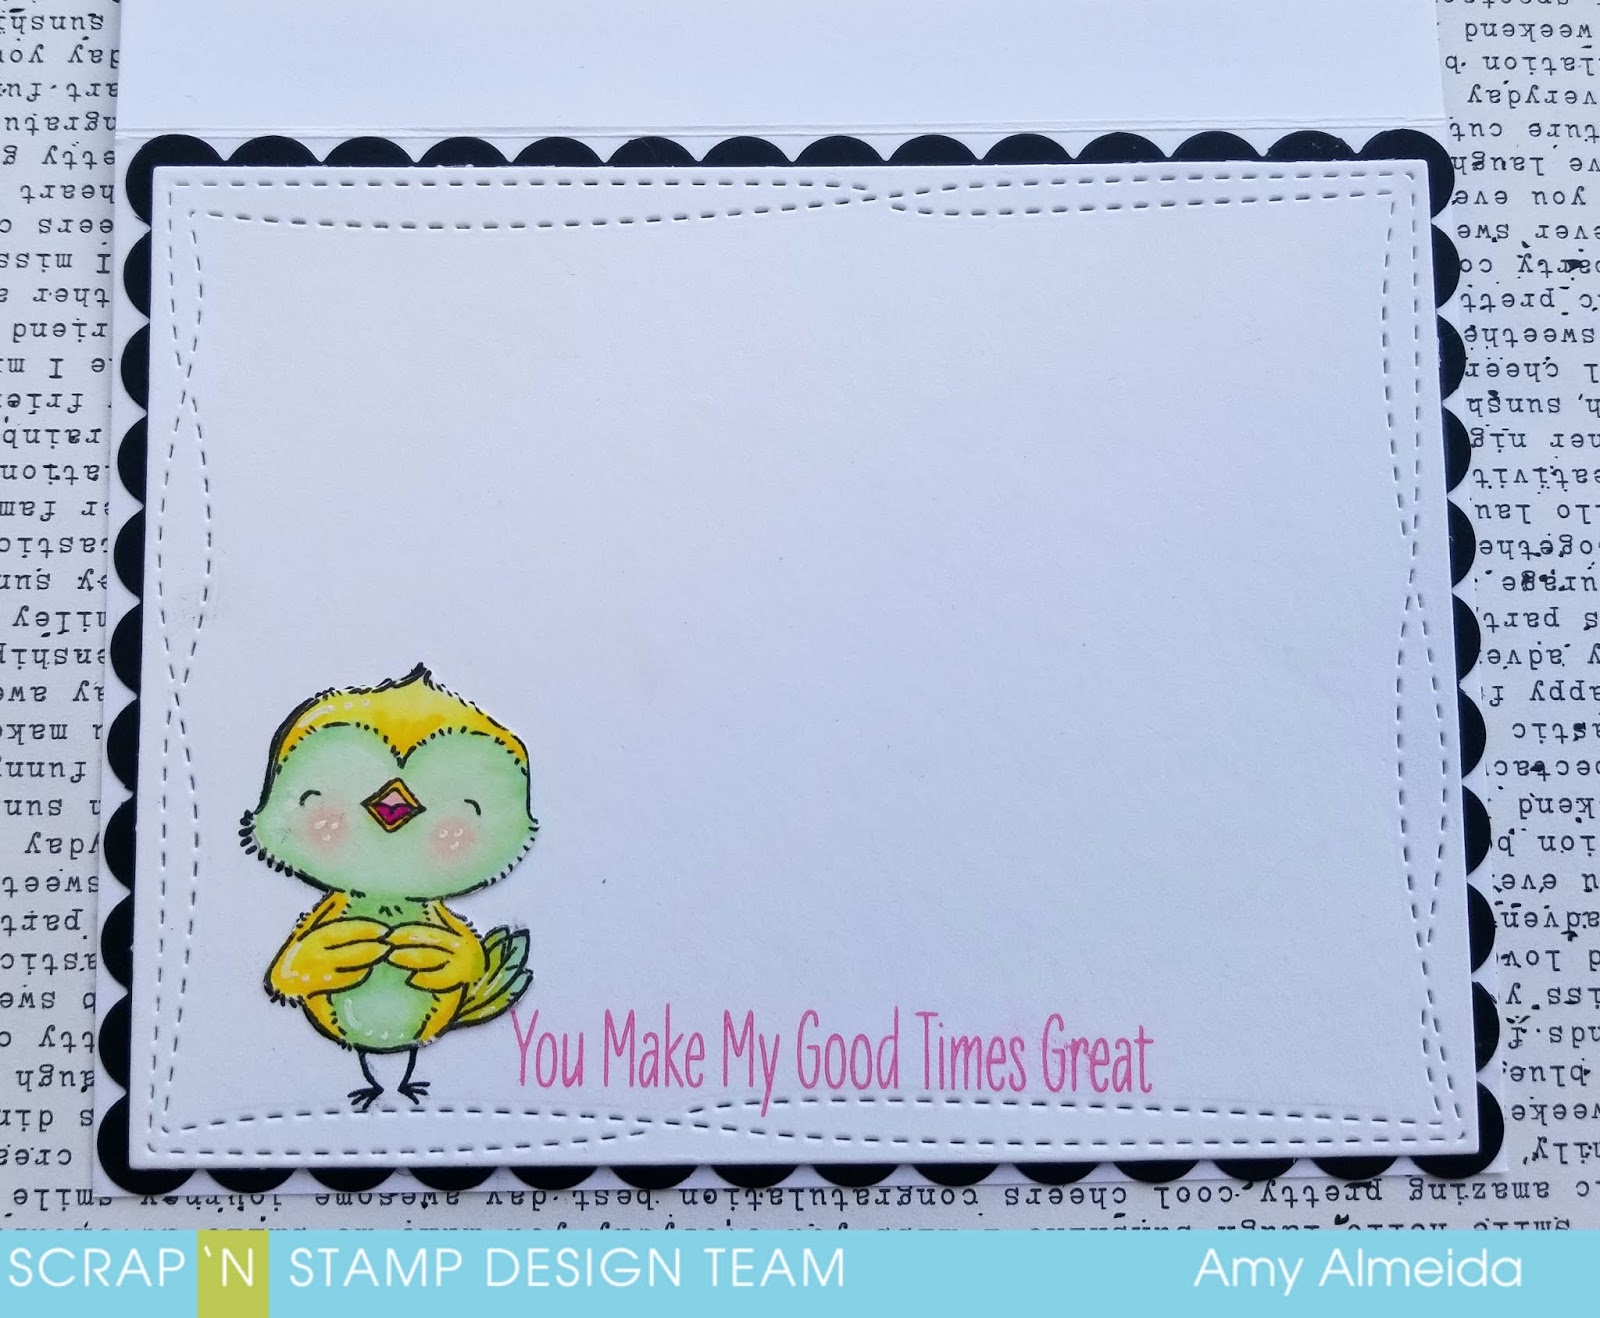
Here's the inside of my card using another image and sentiment from the set:

I sure hope I've inspired you to get crafty and play along with our LOVE IS IN THE AIR challenge this month!

 Also, be sure to hop along ALL the blog hop stops and COMMENT to be eligible to win one of the amazing prize packages or Gift Certificate that's up for grabs!

You are now off to Kia's Blog to see her stunning LOVE IS IN THE AIR Make!

And here's the Blog Hop List, in case you get lost  along the way or are just joining in:
Tara
Laurie
Amy <<You are here>>
Kia
Nancy


Saturday, 12 January 2019

SCRAP N' STAMP~ Thinking of you PIG TIME!

https://www.scrapnstamp.ca/blog/cards/thinking-pig-time/

https://www.scrapnstamp.ca/blog/cards/thinking-pig-time/


Hello Crafty Friends! 

Today, I'm up on the 
blog today with  some fun lil' card using  MFT- Hog Heaven and Spectrum Noir Color Blend Pencils. 

For more details and photos of my card, checkout the post here.


Thursday, 27 December 2018

SCRAP N' STAMP~ Having a HOOT!


Hello Crafty Friends! 

Today, I'm up on the 
blog today with  some fun lil' tags using different coloring mediums and MFT- Warm & Feathered Hugs stamp set

For more details and photos of my card, checkout the post here.


Friday, 14 December 2018

SCRAP N' STAMP~ All That Sparkles Blog Hop

Happy Friday crafty friends! Today, we have a fun little blog hop 


Be sure to comment on all the stops on the hop to be eligible for one of 6 SPARKLY GIFT PACKS and 1 $25  Scrap N' Stamp Gift Certificate

 PLUS there's a challenge over at the SCRAP N' STAMP FB Group- the theme is ALL THAT SPARKLES...so get out your glitter, shimmer ...anything that sparkles!

So here's the card I made using a Spellbinder's Snowflakes Die as a stencil, Nuvo Glimmer Paste and Distress Oxides. 


I started with Smooth Bristol Paper and applied Spun Sugar, Worn Lipstick and Picked Raspberry Distress Oxides. I love this color combo for an ombre effect! I used one of the curved MFT- Basic Edge dies on the lower half.

 I then die cut a Spellbinder's snowflake die onto cardstock and used it as a stencil with Moonstone Nuvo Glimmer Paste to create that sparkly effect, I masked off the center before I applied the past so I could add my sentiment. I used "MERRY" from  the Concord & 9th Christmas Cottage set and stamped it onto the center of the snowflake with Versafine Crimson Red ink.  I then die cut the "Christmas" Sentiment from Silver glitter paper using the Birch Press Christmas Sugar Script Die. I also die cut it out from White CS several times and layered them all together to give it more dimension.  I then adhered the 2 panels onto my card base with fun foam and added a strip of the silver Glitter paper in between the 2 layers. 

For the inside of my card, I used the same Distress Inks from my card front with TH Mini Weathered Winter Snowflakes stamps. A sentiment from an older Cornish Heritage Farm stamp set. 


I hope I've inspired you to get crafty and play along with our ALL THAT SPARKLES challenge this month!

 Also, be sure to hop along ALL the blop stops and COMMENT to be eligible to win one of the amazing prize packages or Gift Certificate that's up for grabs!

You are now off to Kia's Blog to see her take on ALL THAT SPARKLES!

And here's the Blog Hop List, in case you get lost  along the way or are just joining in:
Amy <<You are Here>>


Saturday, 25 August 2018

SCRAP N' STAMP~ You're A-MAZE-ING

Happy Saturday Crafty friends! It's time for another fun blog hop over at 
 This month the DT gals are showcasing Shaker Cards! Be sure to hop-a-long as there are 7 Tonic Die and Shaker sets for those who comment, like or share!! 


Here's my lil' shaker card using You're A-MAZE-ING from MFT and Tonic Circle Shaker and Die Set. This set from Tonic Studios is pretty cool and makes Shaker Cards fun and easy!Die cut, stamp and fill the Shaker blister to create uniquely designed shaker cards. Eazy Peazy! ;o)

I started with some Canson Watercolor paper and spritzed water onto the panel front. I then added Dr. Ph. Martin's Bombay India Inks in Magenta and let the color flow with the water- love the organic design you get. 

Once dry, I used the Circle Shaker Die and cut out my center which I then stamped with the You're A-MAZE-ING maze stamp in Versafine Black Onyx Ink. I used White Versfine Ink to mark the correct maze path and heart that also comes in the set. I  added the maze part to my card base and used a bead to indicate the ball that came with these fun lil' handheld games, adhered the blister circle pack and then the watercolor panel to the card base. I cut out a black trim with my circle dies, splattered some black paint and the sentiment from the same set and Voila, a fun lil' Shaker card that's so easy to assemble. :o)

Here's how I finished the inside of my card:

Be sure to head over to all the gal's blogs to see how they SHOOK THINGS up this hop and to be eligible to win!

Here's the hop list if you get lost along the way: